By Siddaganga Real Estate9 min read
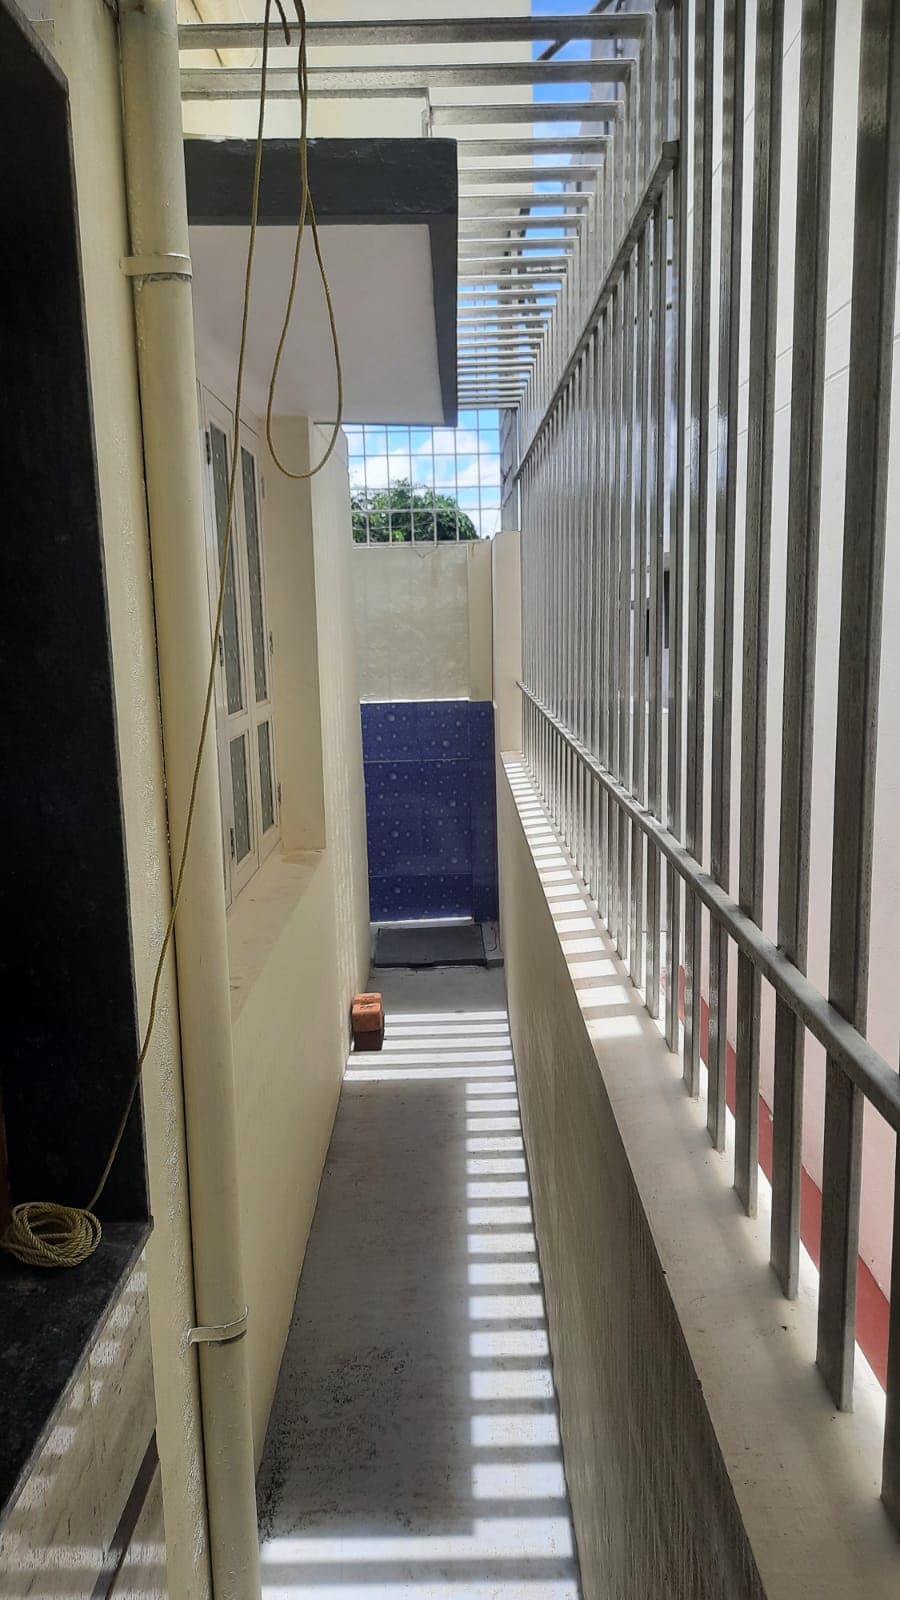
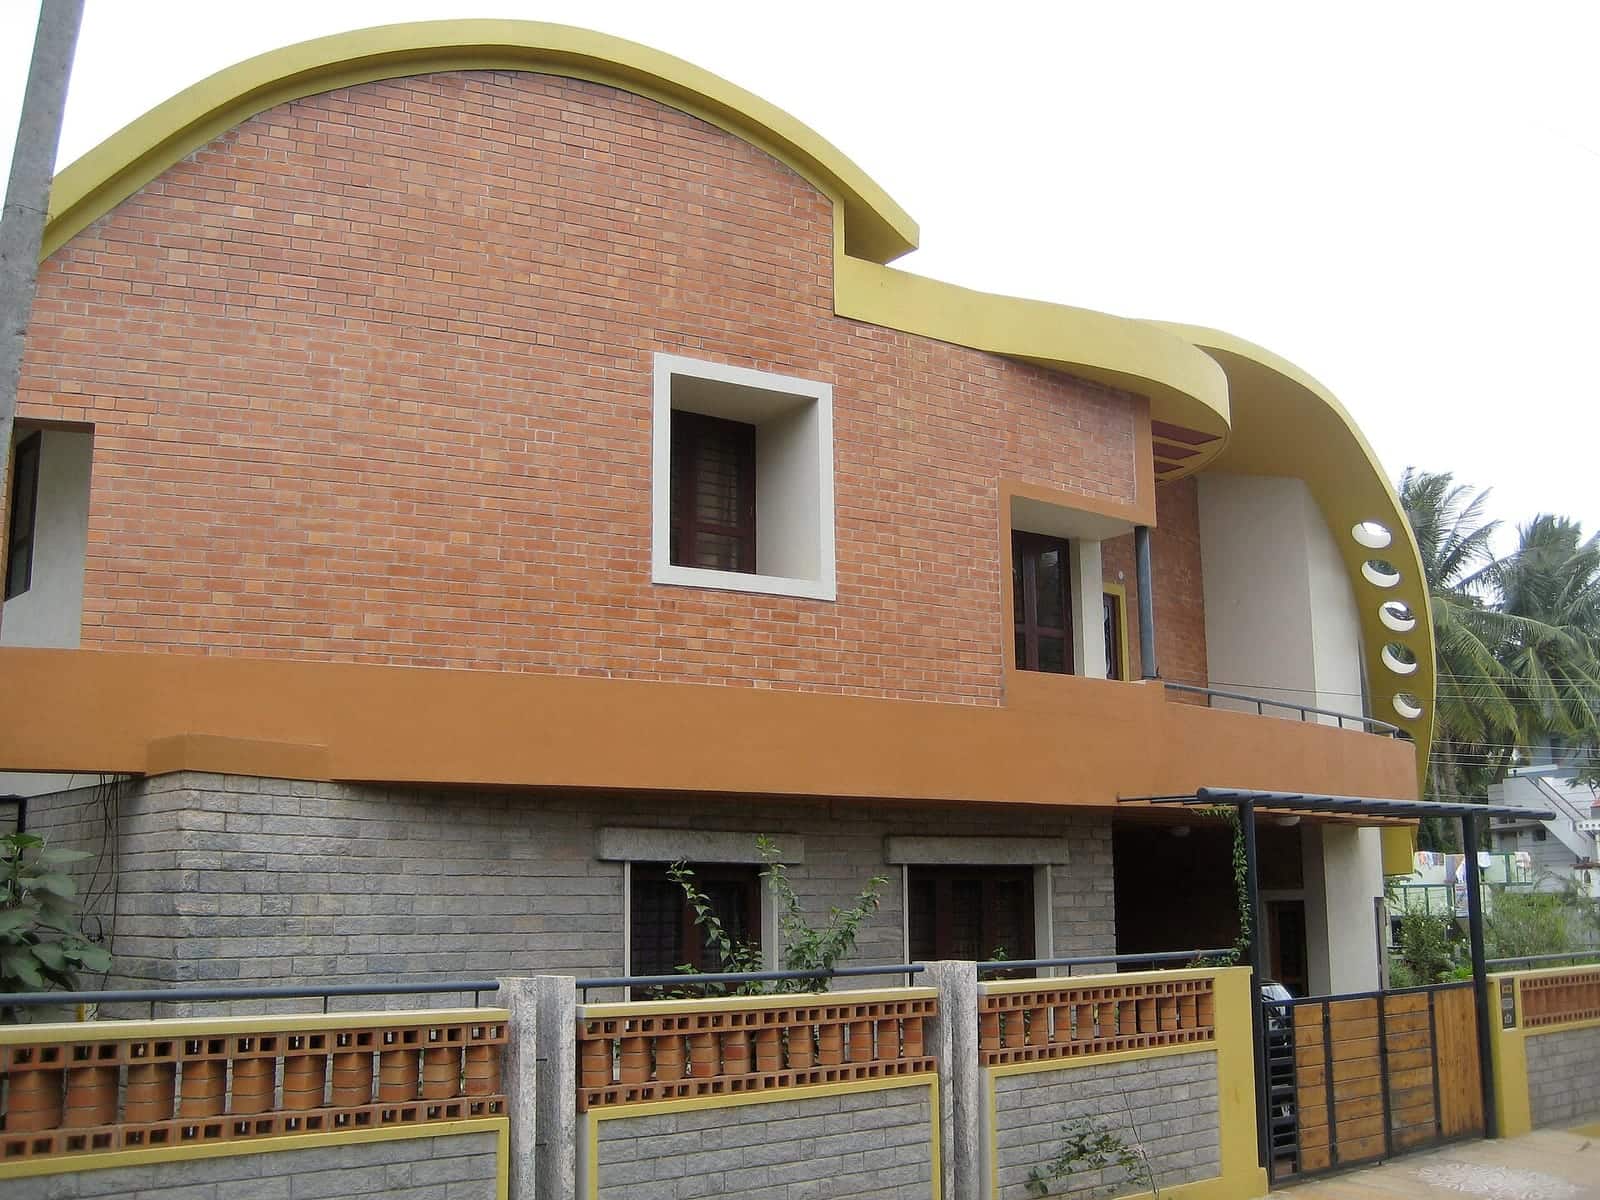
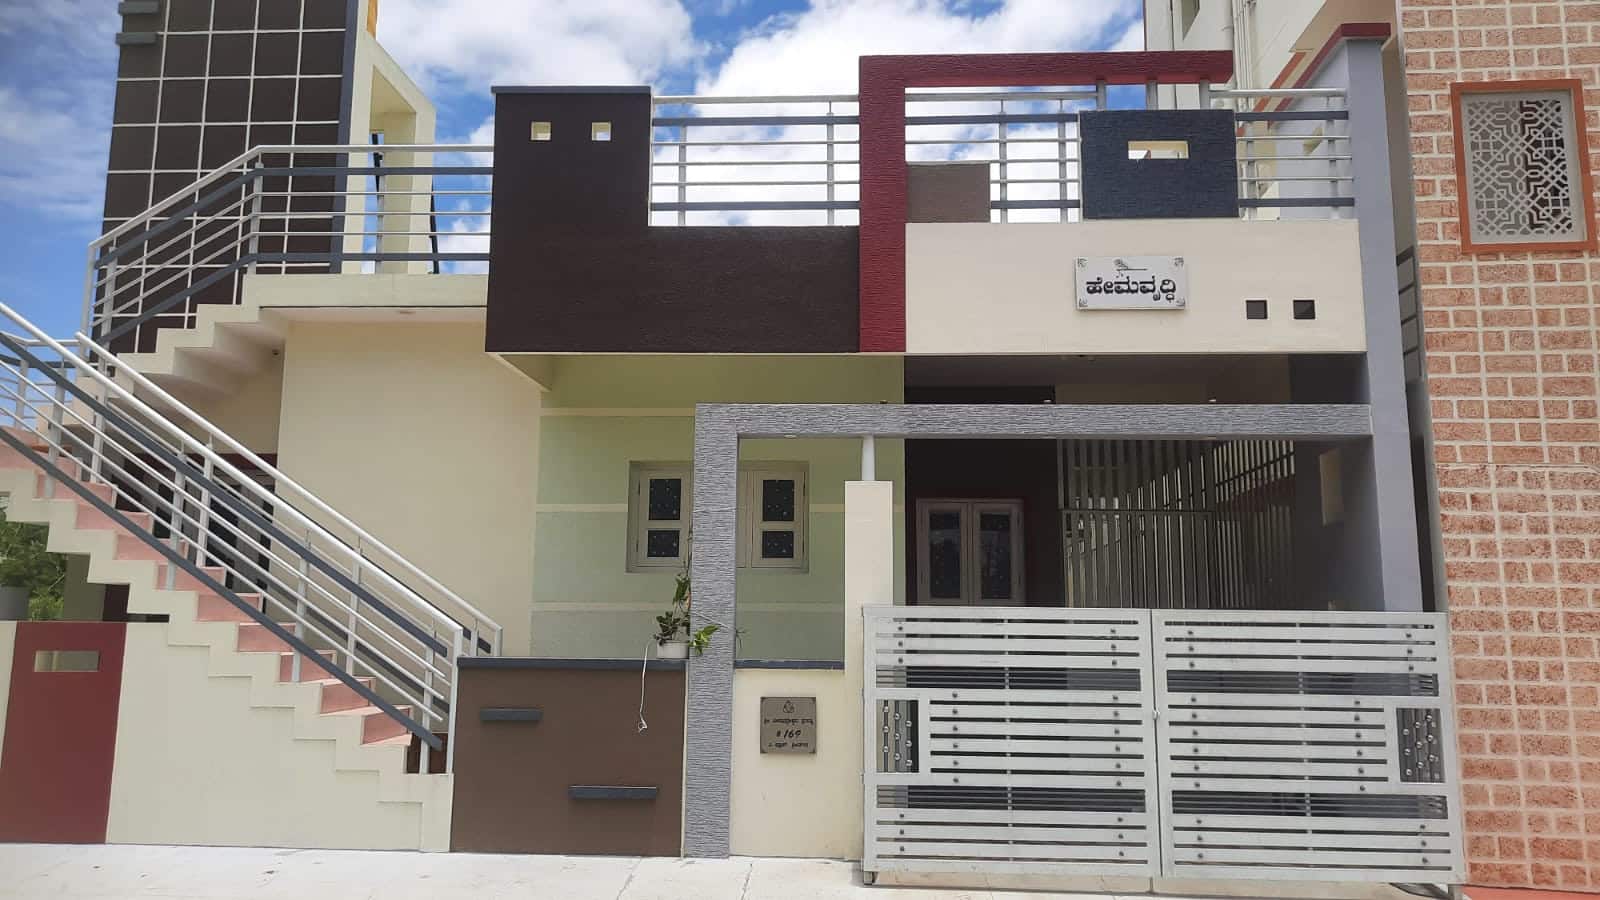
Building your own house is one of the most satisfying things a family can do, and one of the most demanding. It helps enormously to know what happens when, because each stage builds on the last and some mistakes can only be caught before the next layer covers them. This guide walks through the stages of house construction from the first drawings and the bhoomi pooja to the day you receive the keys: design and approval, soil testing, foundation and plinth, the concrete frame, walls and roof, plumbing and electrical work, plastering, flooring, fixtures, painting and utility connections. For each stage it explains what to inspect, and at the end it looks at what really drives the overall timeline. It is general guidance; your architect and structural engineer should set the specific checks for your house.
Design, approval and soil test
Every sound house starts on paper. Work with an architect to turn your needs into drawings — the rooms you need, how the family lives, the plot's orientation and any Vastu preferences — and have a structural engineer design the foundation and frame. The design must fit the building rules for your plot and be sanctioned by the local authority before work begins; our guide to building plan approval explains how.
A soil test is worth doing before the foundation is designed. It tells the engineer how much load the ground can safely carry and at what depth, which decides the type and depth of foundation. Guessing here can mean an unsafe foundation or an unnecessarily expensive one.
This is also the time to settle your specification, choose your contractor, sign the contract and arrange your finance.
What to check: that the drawings are final and sanctioned, that the structural design is based on the soil report, and that the contractor has the same set of drawings you do. Changes are cheap on paper and expensive on site.
Bhoomi pooja and marking out
Many families in Mysuru mark the start of construction with a bhoomi pooja, the traditional ground-breaking ceremony performed on the plot before digging begins, often on a date chosen with the family priest. Plan it around your approvals and the contractor's schedule, so the auspicious start is followed by steady work rather than a long pause.
On the practical side, the first site tasks are clearing and levelling the plot and marking out the building on the ground, usually with pegs and string, according to the sanctioned drawings.
What to check: this is one of the most important inspections of the whole project. Have your engineer or architect confirm that the marking matches the sanctioned plan, especially the setbacks from each boundary, and that the plot boundaries themselves are correctly identified. A house marked out wrongly will be built wrongly, and a deviation from the sanctioned plan is very hard to undo. Also agree where materials will be stored, where water for construction will come from and how the site will be secured.
Foundation and plinth
With the marking approved, excavation begins. The foundation — the part of the house below ground that spreads its weight into the soil — is built to the depth and design set by the structural engineer. Typically this means a levelling layer of plain concrete, reinforced footings, and columns rising to plinth level.
The plinth is the base of the house just above ground level. A plinth beam ties the columns together, the area inside is filled and compacted, and anti-termite treatment is commonly applied to the soil. A damp-proof course is often laid to stop moisture rising into the walls.
What to check:
- Excavation depth and size match the structural drawings, and the base is firm.
- Reinforcement steel is the specified size and grade, spaced as drawn, with enough concrete cover, checked by your engineer before any concrete is poured.
- Concrete is placed properly and kept wet (cured) for the period your engineer specifies.
- Anti-termite treatment and damp-proofing are actually done, not just billed.
- The plinth height is as designed, so the house sits sensibly above the road.
Photograph everything before it is buried.
The frame: columns, beams and slabs
Many houses today are built with a reinforced concrete frame: columns and beams carry the load, and concrete slabs form each floor and the roof. The frame rises floor by floor. For each level, formwork (the temporary moulds, often called shuttering) is set up, reinforcement steel is tied in place, concrete is poured, and the concrete is cured before work moves on.
This is the structural heart of the house, and it is where independent supervision pays for itself.
What to check:
- Before every pour, your engineer inspects the reinforcement — bar sizes, numbers, spacing, laps and cover — against the structural drawings.
- Formwork is firm, level and properly supported, so slabs come out true.
- Concrete is of the specified mix and is placed and compacted without gaps; ask for material tests if your contract provides for them.
- Curing is done properly and for as long as the engineer specifies.
- Props under slabs are removed only when the engineer says it is safe.
Avoid last-minute changes to column or beam positions. Any change to the structure should go back to the structural engineer first.
Walls, roof and waterproofing
Once the frame is up, the walls are built between the columns in brick or concrete blocks, as specified. Lintels are cast over door and window openings, and sunshades (chajjas) are often added over windows. The roof slab is finished with waterproofing and a slope so rainwater drains away, and a parapet wall is built around the terrace.
What to check:
- Walls are straight, plumb and level, with joints properly filled.
- Door and window openings are the size and in the position shown on the drawings.
- Lintels rest properly on the walls on each side.
- The roof slopes towards the outlets, and rainwater pipes are sensibly placed.
- Waterproofing is laid to the specification. Some engineers test it by holding water on the roof for a period and checking below for leaks, which is well worth doing before finishing work begins.
Waterproofing is one of the items most often skimped and most expensive to put right later, so it deserves your full attention.
Plumbing, electrical work and plastering
Before the walls are plastered, the concealed services go in. Electrical conduits are cut into walls and laid in slabs, and pipes for water supply and drainage are laid to the plumbing layout.
What to check before plastering:
- Switch, socket and light positions match your electrical layout, with enough points for the kitchen, bedrooms and any appliances you may add later.
- Wiring of the specified type and size is used, and earthing is done properly.
- Water pipes are pressure-tested for leaks before they are covered.
- Drainage lines have the right slope and access points for cleaning.
Photograph every wall with the pipes and conduits visible, with a tape measure in the frame. Years later, those photographs will tell you exactly where it is safe to drill.
Then comes plastering, inside and out. Check that surfaces are even, corners are straight and external plaster is properly cured to limit cracking. This is the last good moment for small layout changes, because everything after it is finishing.
Flooring, fixtures, painting and utilities
The finishing stages bring the house to life, and they are also where specifications can quietly change, so keep your written specification to hand.
- Flooring and tiling: check levels, joints and the slope in bathrooms and balconies, and tap tiles gently to find hollow spots.
- Doors and windows: check they open, close and lock smoothly and are the material and grade agreed.
- Kitchen and bathrooms: check the platform, sink, taps, sanitaryware and fittings against the specification, and run every tap and flush.
- Electrical fittings: switch everything on, test the sockets and check the distribution board is labelled.
- Painting: surface preparation matters as much as the paint; check for patchiness in daylight.
- Utilities: the sump, overhead tank, water source, sewer or septic arrangement, compound wall and gate. Apply for permanent water, sewer and electricity connections as your local body and supplier require. Our guide to water, drainage and power in new layouts explains what to check in the wider layout.
Where your authority requires a completion or occupancy certificate, apply once the building is finished.
Handover, and what drives the timeline
Before you accept the house, walk through every room with your supervisor and list everything that needs fixing, however small. Agree a date for the fixes, collect the drawings, warranties, test reports and bills, and hold back any amount the contract allows until the list is cleared. Many families then celebrate with a griha pravesha, the housewarming ceremony.
How long does it all take? Honestly, anything from several months to over a year for a typical family home, and sometimes longer. The main factors are the size and complexity of the design, how quickly approvals come through, the soil and site, the weather — heavy rain slows excavation and concrete work — the availability of labour and materials, how promptly you make decisions and payments, and your contractor's other commitments. Changes made midway are among the biggest causes of delay. Our guide to choosing a house contractor covers the contract terms that keep a build on track.
If you are still looking for the right plot, Siddaganga Real Estate has helped families in Mysuru for over twelve years with MUDA-approved plots and sites, document verification, e-Khata, registration and home loans. Contact our JP Nagar office whenever you are ready.
Frequently asked questions
- How long does it take to build a house in Mysuru?
- For a typical family home, anything from several months to over a year, and sometimes longer. The timeline depends on the size and complexity of the design, how quickly approvals come through, soil and site conditions, the weather, labour and material availability, how promptly you make decisions and payments, and your contractor's workload. Midway design changes are a common cause of delay.
- What are the main stages of building a house?
- Broadly: design and plan approval, soil test, bhoomi pooja and marking out, foundation and plinth, the concrete frame of columns, beams and slabs, walls and roof, plumbing and electrical work, plastering, flooring and fixtures, painting, utility connections and finally handover. Each stage has its own checks, and some mistakes can only be caught before the next stage covers them.
- When should an engineer inspect the construction?
- At least at the key points: when the building is marked out on the plot, at excavation, and before every concrete pour, to check the reinforcement steel against the structural drawings. Inspections of services before plastering, of waterproofing and at handover are also valuable. Ideally, your engineer certifies each stage before you release the payment for it.
- When is bhoomi pooja performed?
- Bhoomi pooja is traditionally performed on the plot before excavation begins, marking the start of construction, often on a date chosen with the family priest. It helps to plan it after your building plan is sanctioned and your contractor is ready, so the ceremony is followed by steady work rather than a long pause.
- How should payments be linked to construction stages?
- Tie each payment to a completed, inspected stage — such as foundation, plinth, each slab, walls, plastering, finishing and handover — rather than to calendar dates. Release a payment only after your engineer or architect confirms the stage is done to specification and, if your contract allows, hold back a portion until defects are fixed after handover.
This guide is general information, not legal, tax or financial advice. Rules, rates and procedures change — confirm the current position with a property lawyer, chartered accountant or the relevant authority before you act.